Airplanes often have brightly colored logos and designs on the outside. If you’re wondering how they got there, it is really a lot simpler than you think. With minor differences, painting an airplane is much the same as painting any other object such as a house or a piece of wooden furniture. It just takes a little specific know-how in order to make it work.
How Are Airplanes Painted?
Planes are normally painted every seven to ten years and as you likely suspect, they have to be stripped of the old paint before any new paint can be applied. After the old color is stripped off, a primer is applied, then the paint itself. The process of painting an airplane can last from a few days to a few weeks. You may also need a base coat and/or clear coat, depending on the type of paint that you use.

Getting Started
Stripping a plane of old color is an important part of the process because painting on top of existing paint can add weight to the plane, which no pilot wants. There are basically three layers used in painting an airplane — the primer, base coat, and the top coat, the latter of which gives the plane a shiny appearance.
Many airplanes are painted by using a very thin layer of spray paint that is low-pressure and high-volume. After all, painting a plane with a regular paintbrush would be too time-consuming and costly. After the old paint is stripped off, a primer is applied, then the paint itself. The paint is usually a polyurethane paint.
There are two main ways to strip paint off of an airplane. The first is by sanding the paint off but this is often a time-consuming process that can also harm the plane’s surface if done incorrectly. The second way is to spray a solvent on the plane and let it naturally dissolve the existing paint. It accomplishes this in a mere 24 hours.

Thin layers are a must when painting a plane because not only do they use less paint but this also makes the plane lighter in the end as all paint layers add weight to an airplane. Most paint is chrome-free and easy to wash. Sometimes degreasing is required by using plain soap and water.
There are two main types of paint used on airplanes, enamel and epoxy. Here are the main differences:
- Epoxy is a polyurethane paint that adheres well to airplane surfaces. It doesn’t dry as hard as enamel; therefore, it doesn’t chip or become brittle over time. Epoxy has a high resistance to chemicals and doesn’t fade, oxidize, or break down easily.
- Enamel offers two main advantages over epoxy: it is a lower-cost option and it is not as dangerous as epoxy because it doesn’t give off certain gases when being sprayed.
These two paints can also be used together. For instance, often an enamel paint is used for the plane’s design and color. Then the epoxy, or polyurethane, is applied for extra strength and shine. It is the perfect combination for both hardiness and beauty.
One More Thing
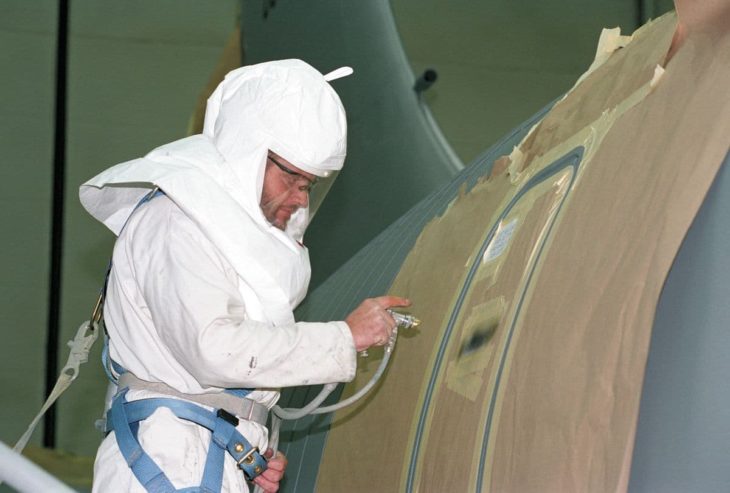
When car companies repaint automobiles, they cover certain parts of the vehicle with a thick paper-like material so that those areas aren’t accidentally painted – parts such as headlights, windows, and so forth. The same is done with an airplane. If you ever want to watch a video of an airplane being painted, you can look it up on YouTube. It is quite interesting how the process is completed, and you might be surprised by how closely it resembles painting a vehicle or other item.
Of course, airlines also hire experts to complete the painting job, so they have the right type of clothing and equipment and are familiar with the right steps to take to make sure the paint job looks amazing in the end. This is why not just anyone is allowed to paint an airplane!
Spray Painting Is the Key
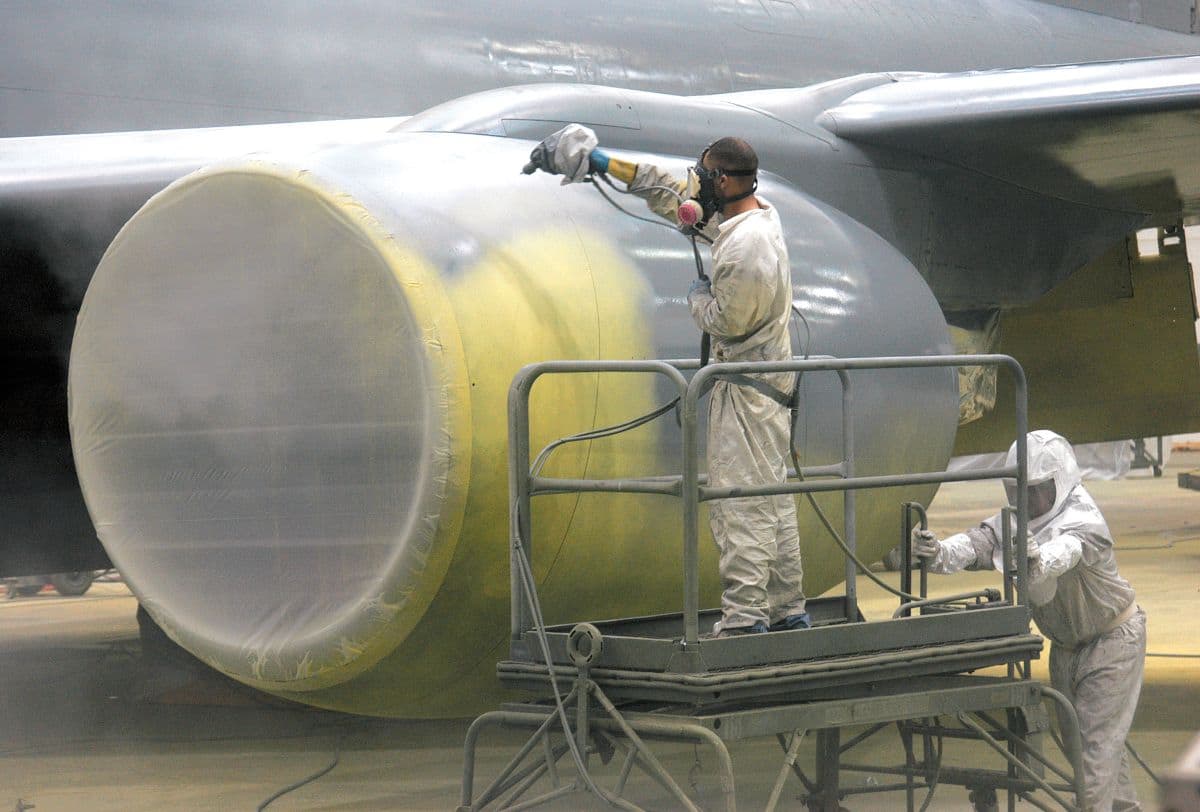
One of the most interesting aspects of painting an aircraft is that a spray paint is actually used instead of a regular paint that is applied by paintbrush or roller. The high-volume, low-pressure, or HVLP, devices used to paint the plane are made specifically for these types of painting jobs. They allow for very even, thin layers of paint that both look great and aren’t too heavy afterwards.
[amazon box=”B00D4NPMKI”]
A Step-by-Step Guide to Painting an Airplane
Painting an airplane involves many steps, described below.
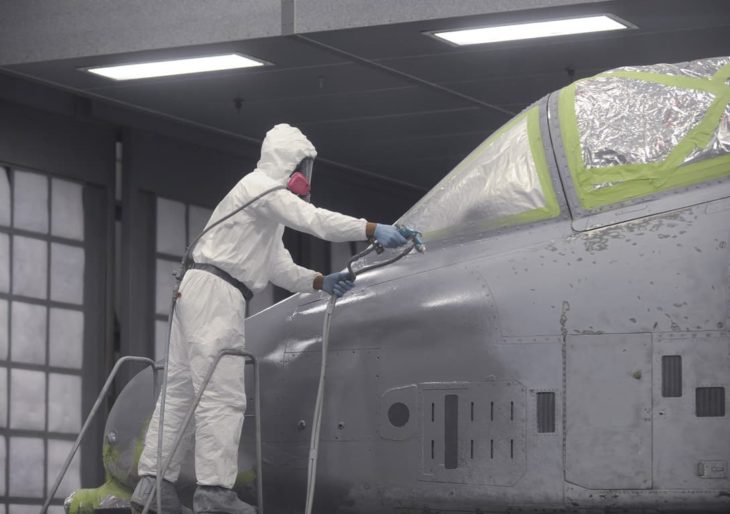
- Stripping the paint off of the airplane to the bare metal is a must before going any further. Regardless of which method you choose — sanding or a liquid dissolvent — keep in mind that protective gear is crucial and that the chemicals you use can be considered hazardous waste where you live.
- Make sure that the plane is then inspected properly by a licensed mechanic before going any further. Loose rivets, cracks, and other defects should be repaired before moving on to the next step.
- Applying the new finish is the next step. This is a two-step process. First, you have to apply the primer; second, you have to apply the topcoat. Zinc chromate is the most common type of primer for airplanes.
- Keep in mind all applicable regulations, which include recording the painting session in the aircraft logbook as you would other events. This is per Federal Aviation Regulation (FAR) Part 43.
Also remember that only FAA-certified mechanics are allowed to perform the inspection of the plane. There are other FAR Parts, as well as local and state regulations, that you should be aware of before painting your airplane if you want to make sure that everything is done correctly.
Some Interesting Facts About Having an Airplane Painted
There are some interesting facts about the airplane painting process, including the following:
- It takes eight to ten people working around the clock to get the job done.
- The paint job adds roughly 550 pounds to the plane’s weight.
- The paint used on most planes can withstand temperatures between -65ᵒ and 350ᵒ Fahrenheit.
- It can take anywhere from 12 hours to one week for the plane to completely dry.
- It can cost up to $200,000 to paint an airplane.
- It can take anywhere from 68 to 950 gallons of paint to complete the painting of an airplane.
Why are Airplanes Painted at All?
You may be wondering at this point why airplanes are painted in the first place. After all, large metal planes can be quite attractive even without a paint job. The answer makes a lot of sense. Airplanes are painted when they’re brand new because the paint protects against salts, oxidation, and spills of jet fuel that can do the metal harm.
Of course, after the paint job is complete, the paint itself can form cracks and chips that are prone to collect moisture and dirt and therefore develop corrosion spots. This is why repainting every 7-10 years is so important. In addition, the area between the metal of the plane and the paint itself can erode and even cause things like worm corrosion, but regular paint jobs can prevent this from happening.
Because of all these things, it is simply a smart idea for many reasons to keep an airplane painted and touch it up with a new paint job on a regular basis.
About the Author
Articles credited to the AeroCorner Editorial Team are created or maintained by multiple aviation contributors working under a shared editorial framework. Content is researched using authoritative aviation sources and reviewed to ensure clarity, technical accuracy, and consistency across AeroCorner.